Installing Phoenix 6 (FRC)
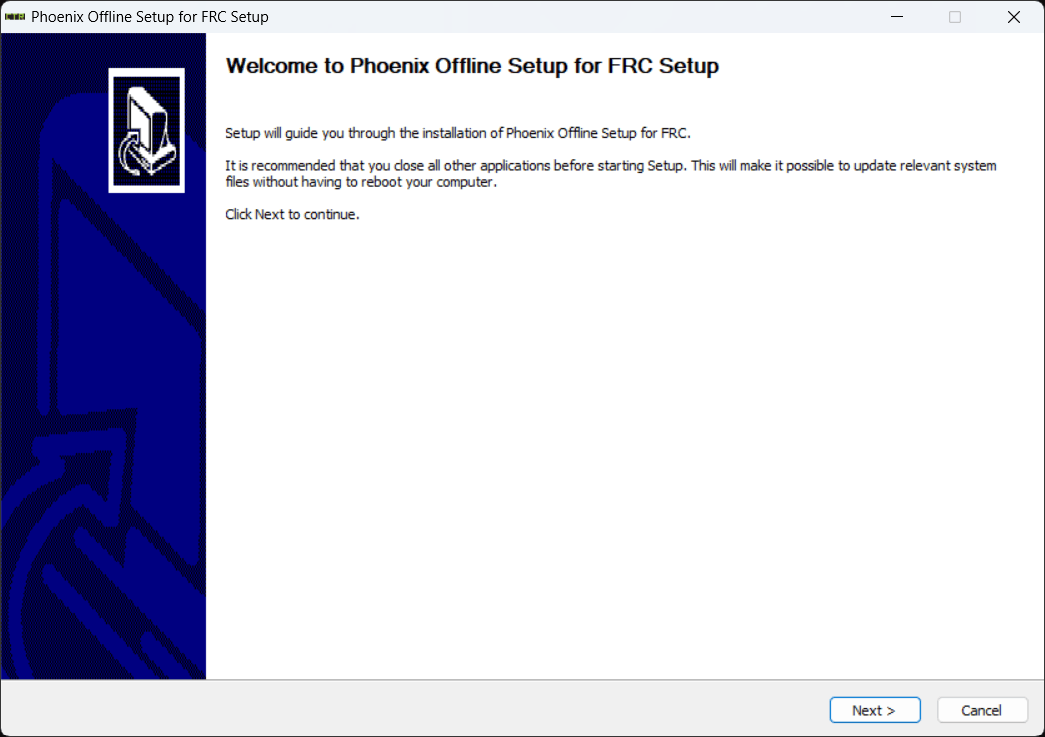
Download the Phoenix Offline Installer
Navigate through the installer, ensuring applicable options are selected
Apply the vendordep via WPILib VS Code Adding Offline Libraries
Users can install Phoenix without an installer using WPILib’s Vendor Dependencies functionality in VS Code. This requires the user to have an installation of WPILib on their machine.
To begin, open WPILib VS Code and click on the WPILib icon in the left sidebar.
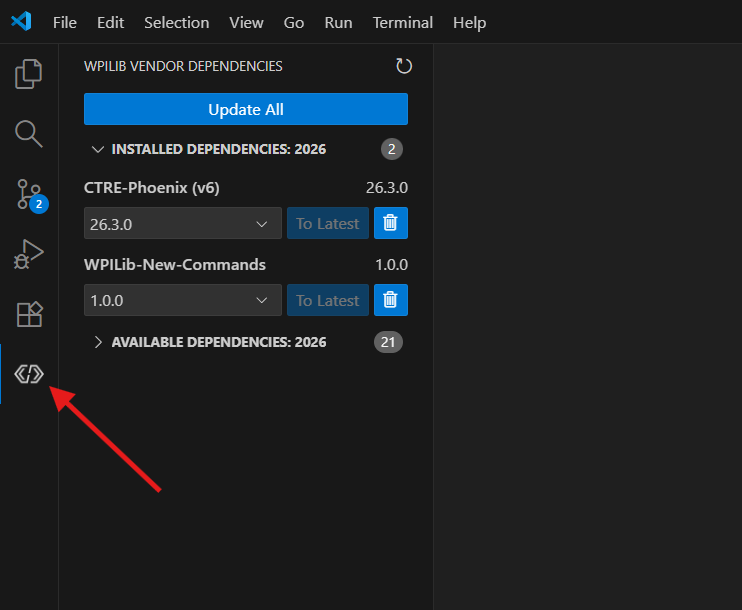
Then under the Available Dependencies dropdown, find CTRE-Phoenix (v6) and click Install to add the vendordep to the robot project. The vendordep can also be updated from this page by pressing the To Latest button.
Additionally, v5 can safely installed alongside it by installing the CTRE-Phoenix (v5) vendordep.
Important
Users utilizing only v5 devices still need the v6 vendordep added to their robot project.
Alternatively, the Hoot Replay version of the vendordep can be installed using CTRE-Phoenix Replay (v6), as well as the v5 Replay-compatible vendordep using CTRE-Phoenix (v5) Replay Compatibility.
First, make sure to install RobotPy. From there, installation of Phoenix 6 is available through PyPI.
python3 -m pip install phoenix6
Download the Phoenix Offline Installer from the Latest GitHub Release, and install it on the computer (with the LabVIEW component checked). This will put the Phoenix LabVIEW VIs into the “WPI Robotics Library -> Third Party -> CTRE” pallette for LabVIEW development.
To deploy robot projects with Phoenix, you need to first download the Phoenix Libraries to the roboRIO. This can be done one of two ways:
Phoenix Tuner X under “Settings -> FRC Advanced -> Install LabVIEW”
LabVIEW under “Tools -> FIRST Robotics Tools -> Download CTRE Phoenix Libs”.
After the libraries are downloaded, hard deploy (run as startup) a LabVIEW program and restart the roboRIO.